
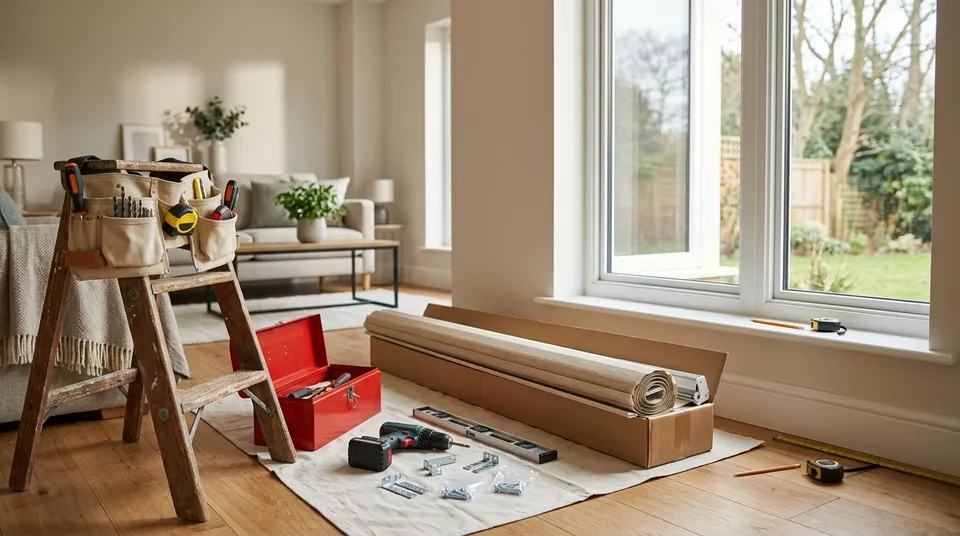
A little preparation makes shade installation easier. The main jobs are to give the installer access to each opening, confirm the agreed work, and leave time to learn the controls. You do not need to take down every existing covering or change anything about your windows unless that was arranged beforehand.
Before the appointment
Check the appointment details and the rooms included in the project. Let Rainier Blinds know about parking instructions, building access, stairs, pets, or a window that is difficult to reach. If another contractor is still painting or finishing trim, mention that so the work can be coordinated.
Keep your accepted quote and any room notes handy. The mounting plan, fabric, color, and controls should already be agreed. If you want to change something, contact the team before the visit so the available options can be checked.
Make room to work
Move plants, photos, lamps, and other fragile items away from the windows. Clear a walking route for tools and a ladder. Ask for help with heavy furniture rather than trying to move it alone; tell the team in advance if an opening will still be obstructed.
Keep children and pets away from the work area while tools and loose hardware are in use. Close a door or arrange another room for them where possible. An adult should be available to provide access, answer questions, and review the finished work.
Confirm what happens to old coverings
Removal and disposal should be discussed as part of the project. Do not assume that you must remove old blinds yourself, or that every removal task is included. Ask what has been agreed and whether there is anything the team needs to know about existing brackets or damaged trim.
Leave window film, screens, curtain rods, and other fixtures in place unless their removal was specifically arranged. These items do not automatically need to come down for a shade installation. If you are removing old coverings yourself, follow their instructions and avoid disturbing anything you plan to keep.
Prepare for your chosen controls
The preparation depends on the actual motor and power source. Battery-powered shades need an accessible charging arrangement; plug-in or hardwired systems have different requirements. Do not arrange wiring based only on a general blog checklist. Confirm the selected system and any electrical work before installation.
For compatible smart controls, have your phone available and know how to access your home network. Confirm which app or hub is required rather than assuming every motor works with your existing setup. Enter account passwords yourself when needed.
Before the visit ends
Open and close each treatment using its normal control. Check that shades move as expected, doors and handles clear the fabric and hardware, and each remote channel operates the intended shade. Ask the installer to explain anything that seems unfamiliar.
For motorized shades, locate the charging connection and learn the routine for your model. Keep the instructions, remote, and charger together. Confirm how to request help if a problem appears after the appointment; avoid changing motor limits or resetting a remote without the correct instructions.
Common questions
Do I need to remove my old blinds?
Only if that is the agreed plan. Confirm removal and disposal with Rainier Blinds before taking them down.
How long will installation take?
Timing depends on the number of openings, access, mounting conditions, and controls. Ask for the expected appointment window for your project.
Should I remeasure the windows?
You do not need to replace the project measurements with DIY measurements. Let the team know if the windows, trim, or other mounting conditions have changed since the consultation.
Planning a new project? Book a in-home consultation to review the windows, samples, and installation details.